
Single sign-on lets your administrators log into Access Gate with their existing identity provider instead of a local password. You map each Access Gate user to their IdP identity, register Access Gate as an application in your IdP, and point Access Gate at it. This guide covers both Google Workspace and Microsoft Entra ID (formerly Azure AD).
Before You Start
- Admin access to Access Gate.
- WAN access to the Access Gate, you can use the overlay port here.
- Admin access to your identity provider: the Google Cloud Console or the Microsoft Entra admin center.
- The DNS name your operators use to reach the Access Gate admin interface, you'll need it for the redirect URI / authorized origin.
Step 1, Set an External ID on the User
In Access Gate, the external ID is what links a local user to their IdP identity. Set it for the user who will sign in with SSO.
- Head to Access Gate admin → Settings → Accounts.
- Enter an external ID for your first user and save. This is the identity your IdP will assert for them (their Google Workspace or Entra email).
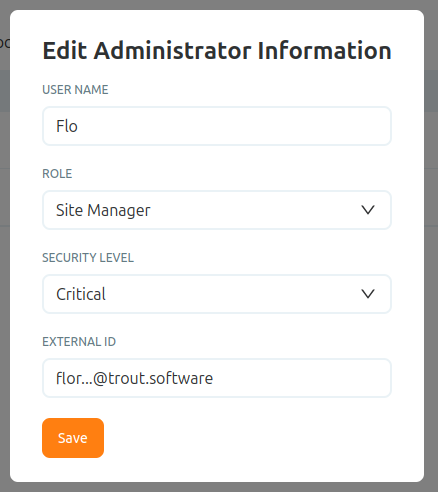
Once an external ID is set, the option to set a local password disappears, that user now authenticates through SSO rather than with a password.

Step 2, Register Access Gate with Your Identity Provider
Register Access Gate as an application so your IdP will issue logins for it. Follow the section for your provider.
Step 2, Google Workspace
- Open the Google Cloud Console (
console.cloud.google.com) → APIs & Services → Credentials → Create Credentials → OAuth client ID. - Fill in your application information.
- Set the Authorized JavaScript origin to the address operators use to reach the Access Gate, whatever you've configured in your host or local DNS.
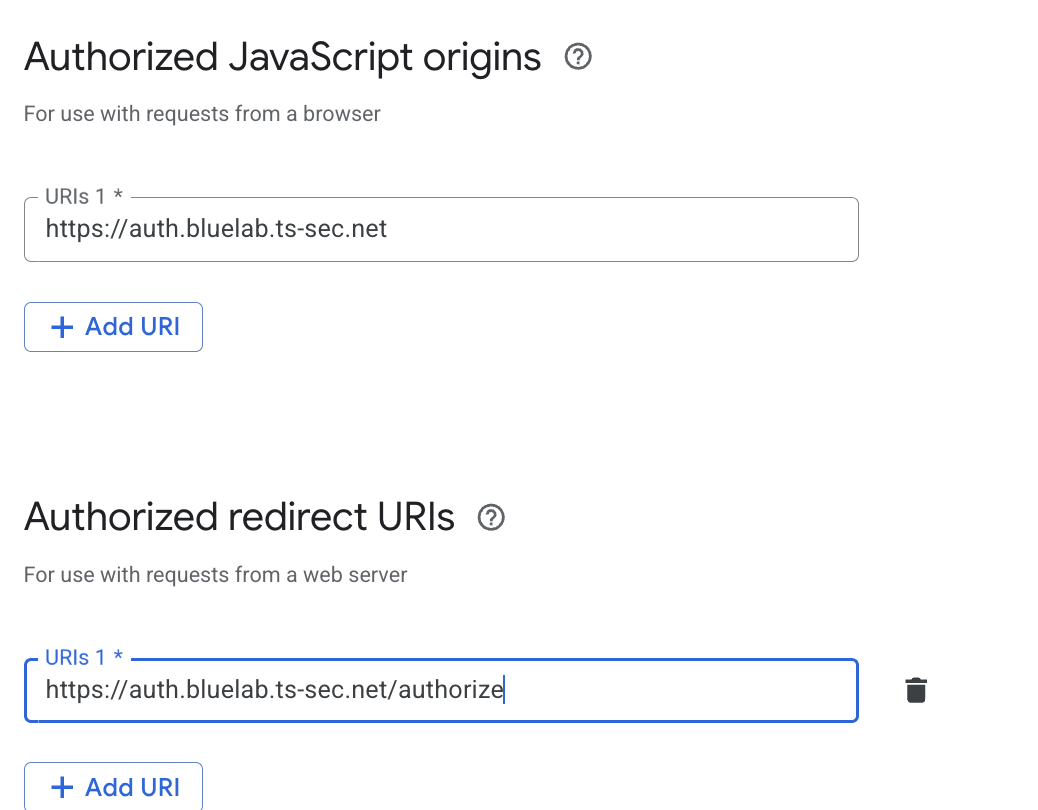
Save the client. Google gives you a client ID and client secret, keep them for the next step.
Step 2, Microsoft Entra ID (formerly Azure AD)
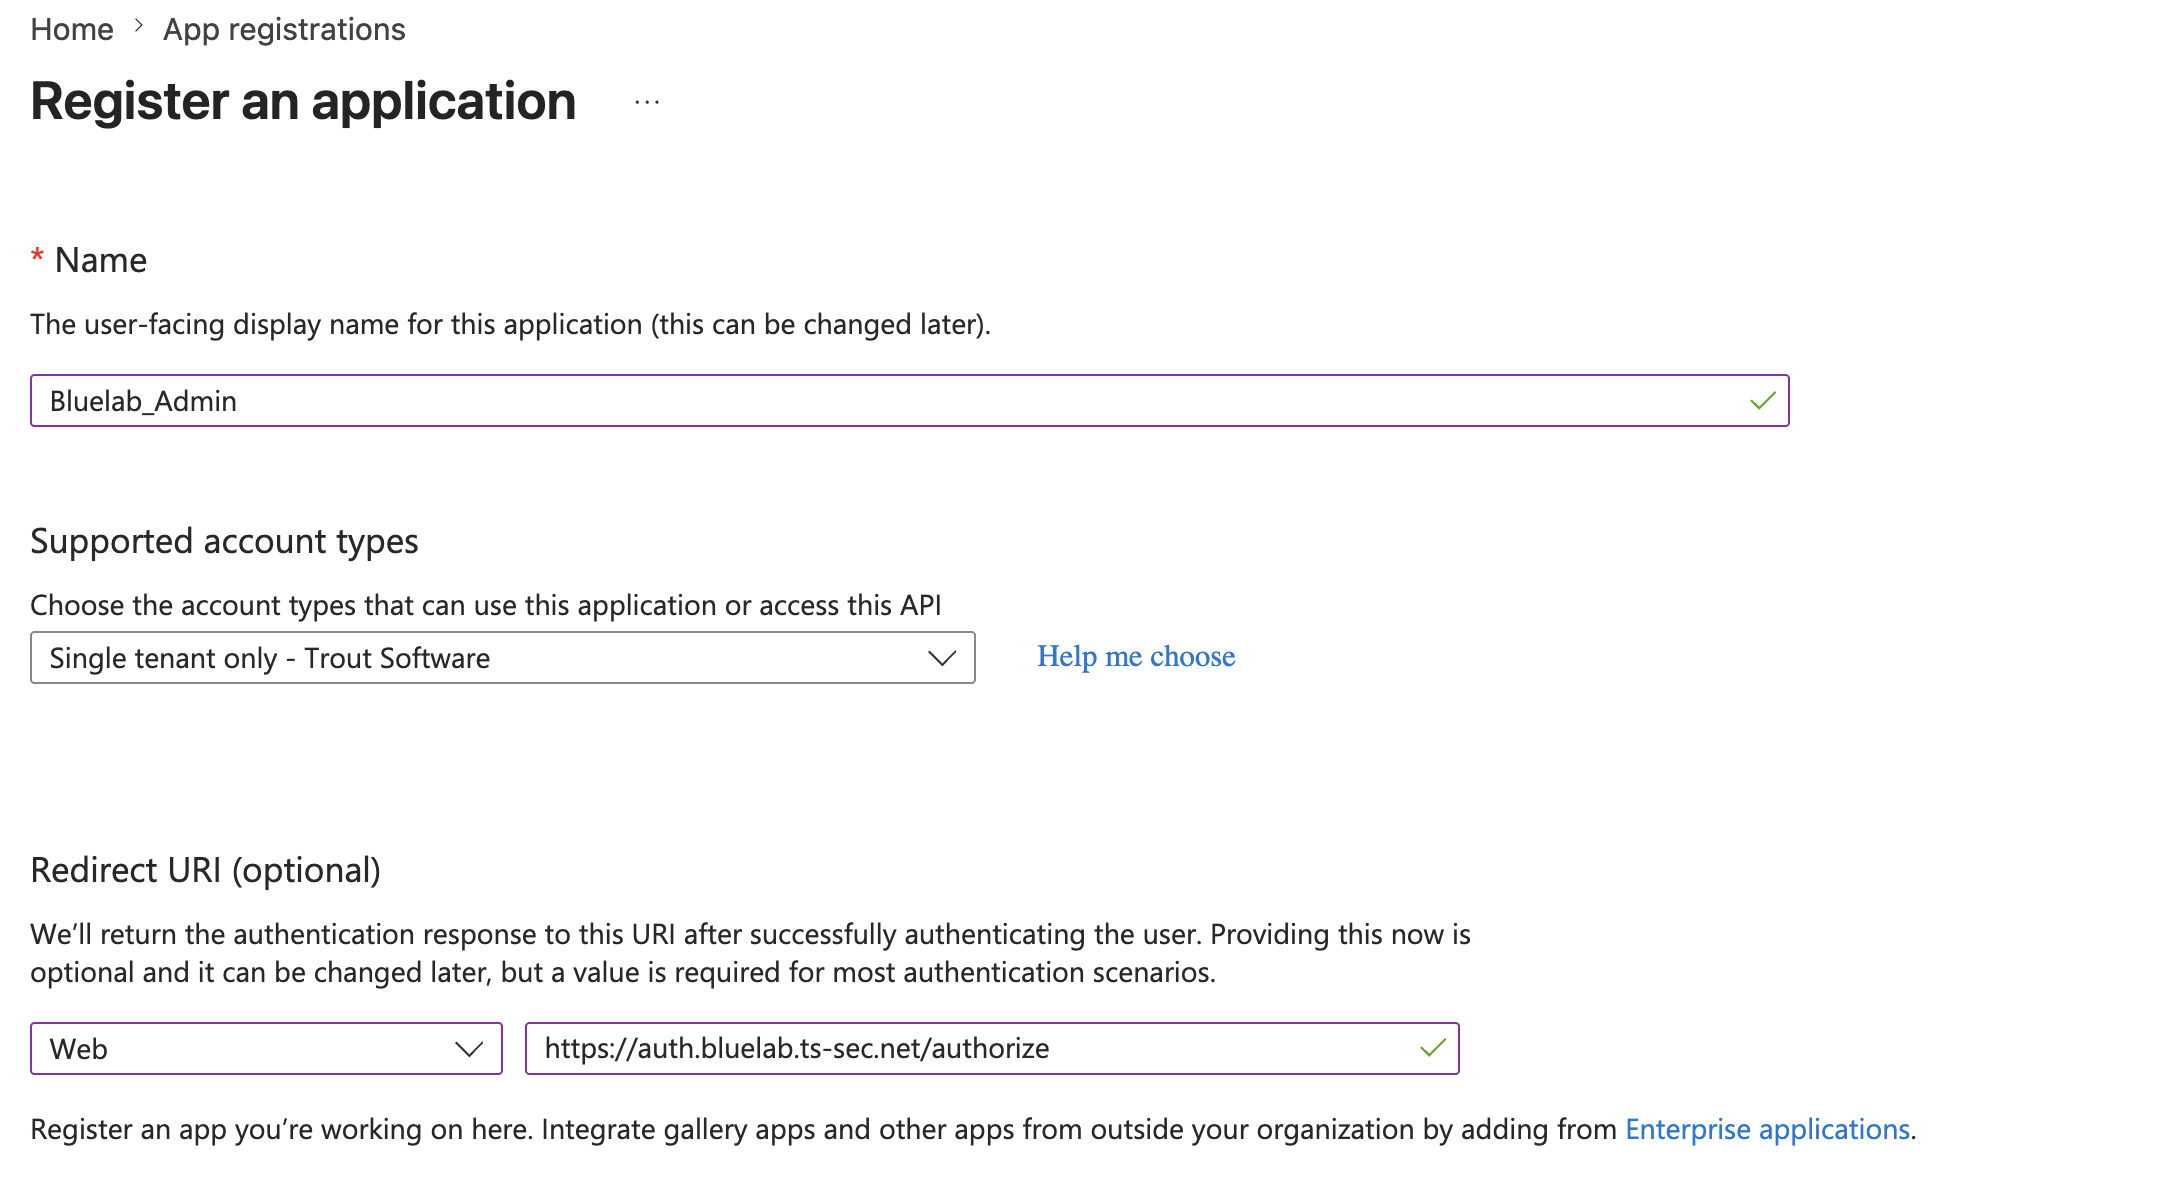
- Register the app. In the Entra admin center (
entra.microsoft.com) → App registrations → New registration. Set a Name and the Redirect URI (the Access Gate URL your operators use).
-
Create the client secret. In the app → Certificates & secrets → New client secret. Set an expiry (max 24 months) and copy the Value immediately, it's shown only once. Use the Value, not the Secret ID.
-
Check API permissions. This is usually configured automatically. In the app → API permissions, confirm User.Read is granted, and grant admin consent if your tenant requires it.
-
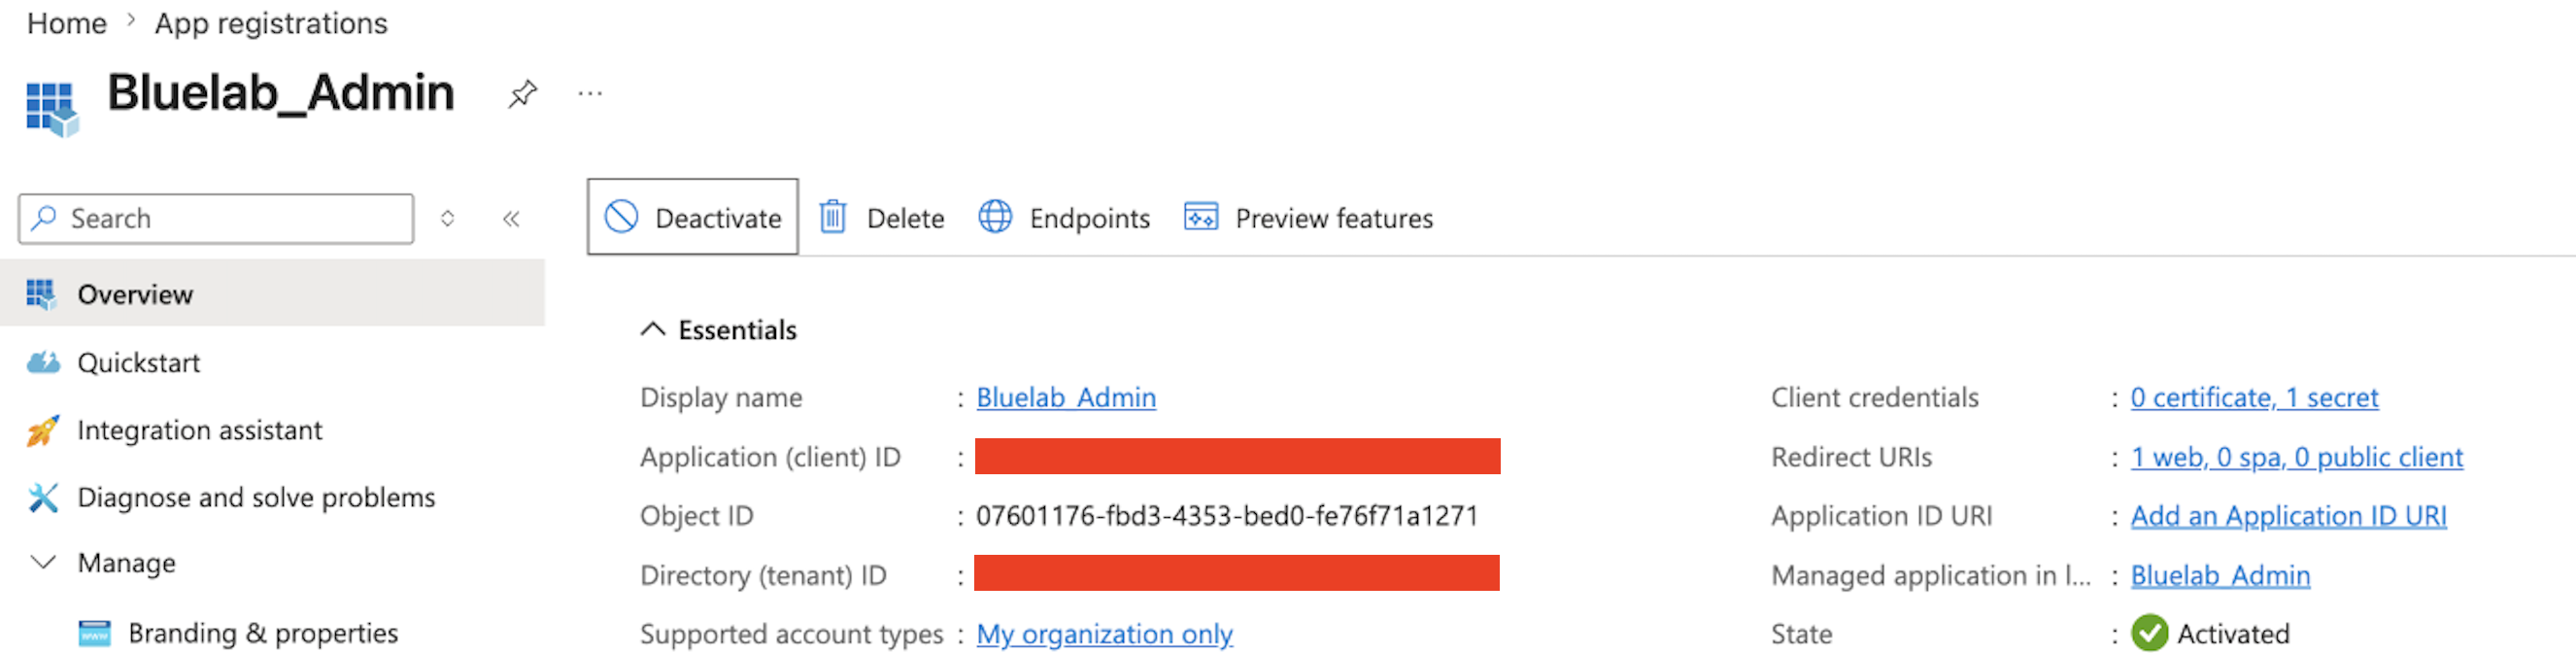
Copy the identifiers. From the app overview, copy the Application (client) ID and the Directory (tenant) ID.
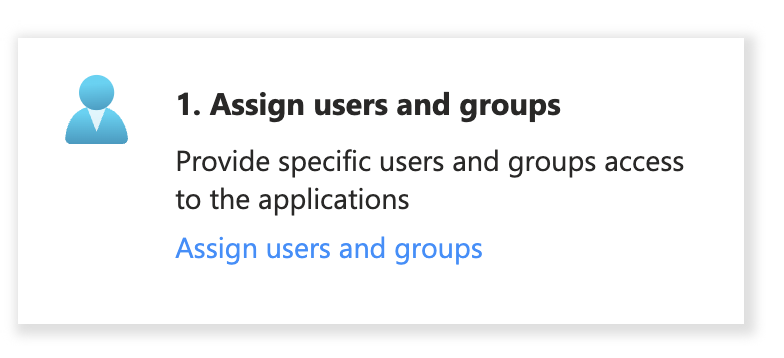
- Assign users and groups that should be allowed to sign in to Access Gate.
Step 3, Enter the SSO Configuration in Access Gate
Head back to Access Gate and enter the details from the application you just registered, the client ID and secret for Google, or the Application (client) ID, Directory (tenant) ID, and secret Value for Entra ID.
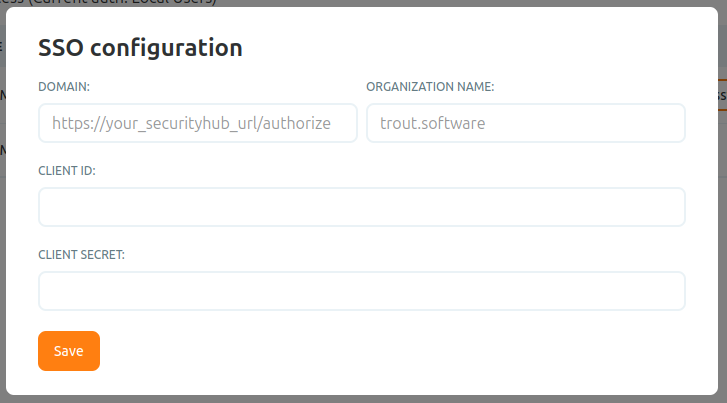
Save the configuration.
Step 4, Verify
Go to your Access Gate URL. You should be redirected into your identity provider's SSO flow and, after authenticating, land back in Access Gate logged in as the mapped user.
If you aren't redirected, or the IdP rejects the login, re-check the redirect URI / authorized origin and confirm the user's external ID exactly matches their IdP email.
Recap
We set each user's external ID, registered Access Gate as an app in Google Workspace or Microsoft Entra ID, and entered the client credentials back in Access Gate. Reach for this to let administrators sign in with their existing IdP identity instead of a local Access Gate password.