
If your users are already registered with an existing Identity Provider (OIDC protocol), they can leverage this access method to also have strong authentication to local nodes.
Prerequisites
Access screens rely on the secure OIDC protocol. One identity provider using this protocol (Microsoft Entra ID in this how-to) needs to be configured.
Here is how to synchronize user directory with Access Gate: https://www.trout.software/docs/configuration-guides/inventory/synchronize-user-directory-entra-id
Access Gate must also be configured with:
- TLS certificates
- The Secure Twin Interface connects the Access Gate to your authentication system. If your authentication service runs on the LAN (for example, an on-premise OIDC or LDAP server), this interface only needs LAN reachability to it. If you use a cloud-hosted identity provider, the Secure Twin Interface must have WAN access.
- Create a DNS entry that points to the IP address of the Secure Twin Interface (often 100.65.0.6). This allows users to access the Access Screen form at a friendly URL, for example:
https://auth.{your-domain}/access_form?id=123456
Creating a new screen
Under the Access Screens menu, use the Create template feature to create a new screen.
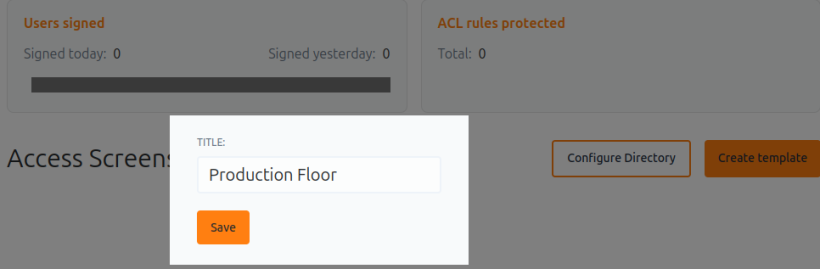
Click on the newly created entry, to access the text editor. This is a good place to remind users of the terms and conditions (policies) governing access to your network.

Few information you can control in an Access Screen:
- the Security Level this access screen should be used for.
- which Directory it will use to authenticate users.
- the Preset Access Timeout - aka after how long should a user access be removed, and the user needing to authenticate again if needed. This last piece is quite important as it allows to have a network that "goes back" or "harden" itself after an access is not needed anymore.
Back to the access screens list, copy the URL of the access screen just created. Share it with users who need to authenticate with Access Gate.
User Flow
- A user opens their browser and visits
https://auth.{your-domain}/access_form?id=123456 - The Access Screen loads and the user accept the policy set for this access screen.
- The user is redirect to Microsoft Entra ID authentication portal to authenticate.
- Once approved, the user is redirected to the callback URL
https://auth.{your-domain}/access_authorize

Access is granted or denied based on the workflow outcome, and an audit trail is recorded.
If the request is approved, the user's IP is automatically added to the proxy and authorized for the duration specified in the access screen. This happens in the background. The user can then continue their normal workflow: connecting to applications, databases, and other services,... while the enclave access rules are fully enforced.
Example log
Recap
We built an Access Screen tied to your OIDC identity provider, so users authenticate through the browser before their IP is granted enclave access for a preset timeout.
Reach for this when you need per-user, identity-backed authentication and an audit trail in front of protected systems, instead of trusting an IP or a shared credential.