
This document walks through an example flow for a third-party intervention, across five steps: authorise, identify, scope, session, and close out.
Treat it as a template for inspiration rather than a procedure to follow to the letter. Copy it, cut what does not apply to you, add the checks your site actually requires, and make it your own.
The example covers an integrator coming in to work on a pump controller. The same sequence applies to a machine builder, a SCADA vendor, or a support engineer dialling in from another continent.
Step 1: Authorise the work before creating anything
The access follows the work order, not the other way round.
- Confirm there is a work order or contract covering this intervention.
- Agree what the vendor actually needs to touch. Ask for assets and protocols, not "access to the network".
- Agree a window. A start and an end, not "this week".
- Note who at your site owns this intervention and approves changes to it.
Step 2: Create the vendor as a spot user
Vendors do not belong in the corporate directory, where a leftover account outlives the job by years.
- Head to Users and select Create User for the individual engineer, not for the vendor company.
- Fill in their details and set the security level for the work they are doing.
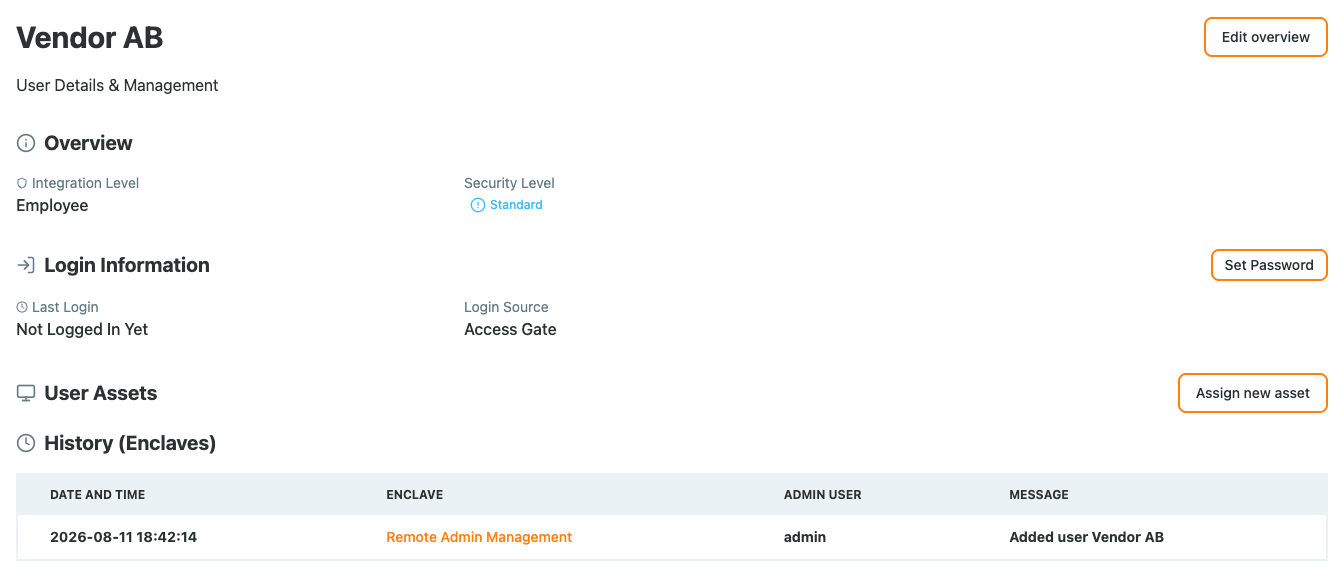
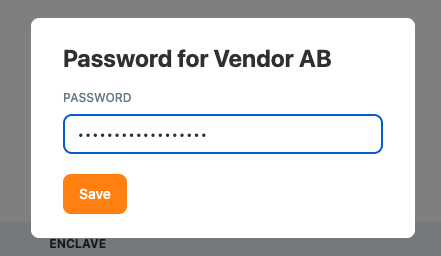
- Under Login Information, use Set Password to give them credentials. Login Source reads Access Gate, meaning this account is local to the gate and not in your corporate directory.
- Attach the work order as a conformity record, with the expiration date set to the end of the intervention window.
One user per engineer matters here. A shared vendor account means the session recording cannot tell you which person did what, which is exactly the question asked after an incident. Note the History (Enclaves) panel on the record: the account's creation and every enclave it is added to are logged from the moment it exists.
See Example Onboarding a New User Process for the user record in full.
Step 3: Scope the access to the work
- Open the enclave covering the assets in the work order.
- Use Edit principals to allow this engineer only the services required
- Check no standing access already exists for this vendor from a previous visit.
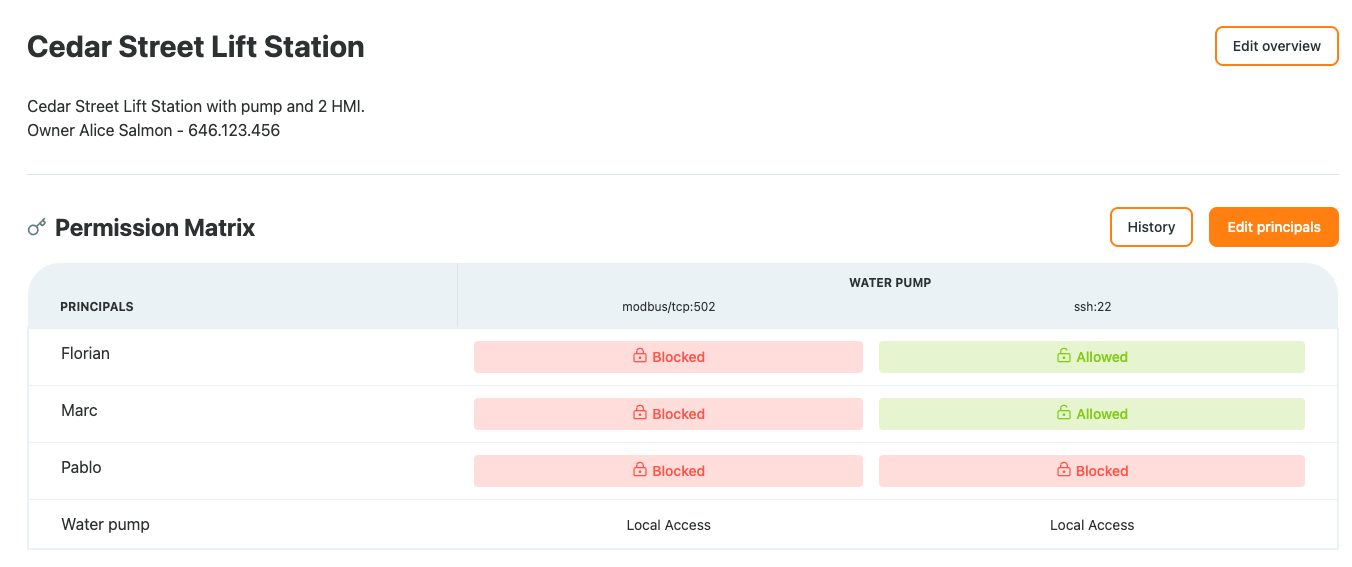
That last check is the one people skip. Access granted for a job two years ago is still access, and it will not appear on anyone's radar until it is either reviewed or used.
Step 4: Run the session through Access Gate
The vendor's VPN points at the Access Gate, and nothing else. That is the whole arrangement. They do not get a tunnel into the plant network, a route to the target machine, or a credential for the device itself. Their connection terminates on the gate, they authenticate there as themselves, and the gate opens a session to the one system they are allowed to reach, for a set period of time.
If a vendor asks for a VPN into your network, this is the answer: they get a VPN to the Access Gate. Nothing internal is reachable directly, before or after they authenticate.
- Point the vendor's VPN or access at the Access Gate, never at an internal subnet.
- Publish the access URL for them, for example
yoursite.tr-sec.net/access_form?id=vendor_abc. - Have them authenticate through the access screen, which enforces per-user login against your directory before anything is reachable.
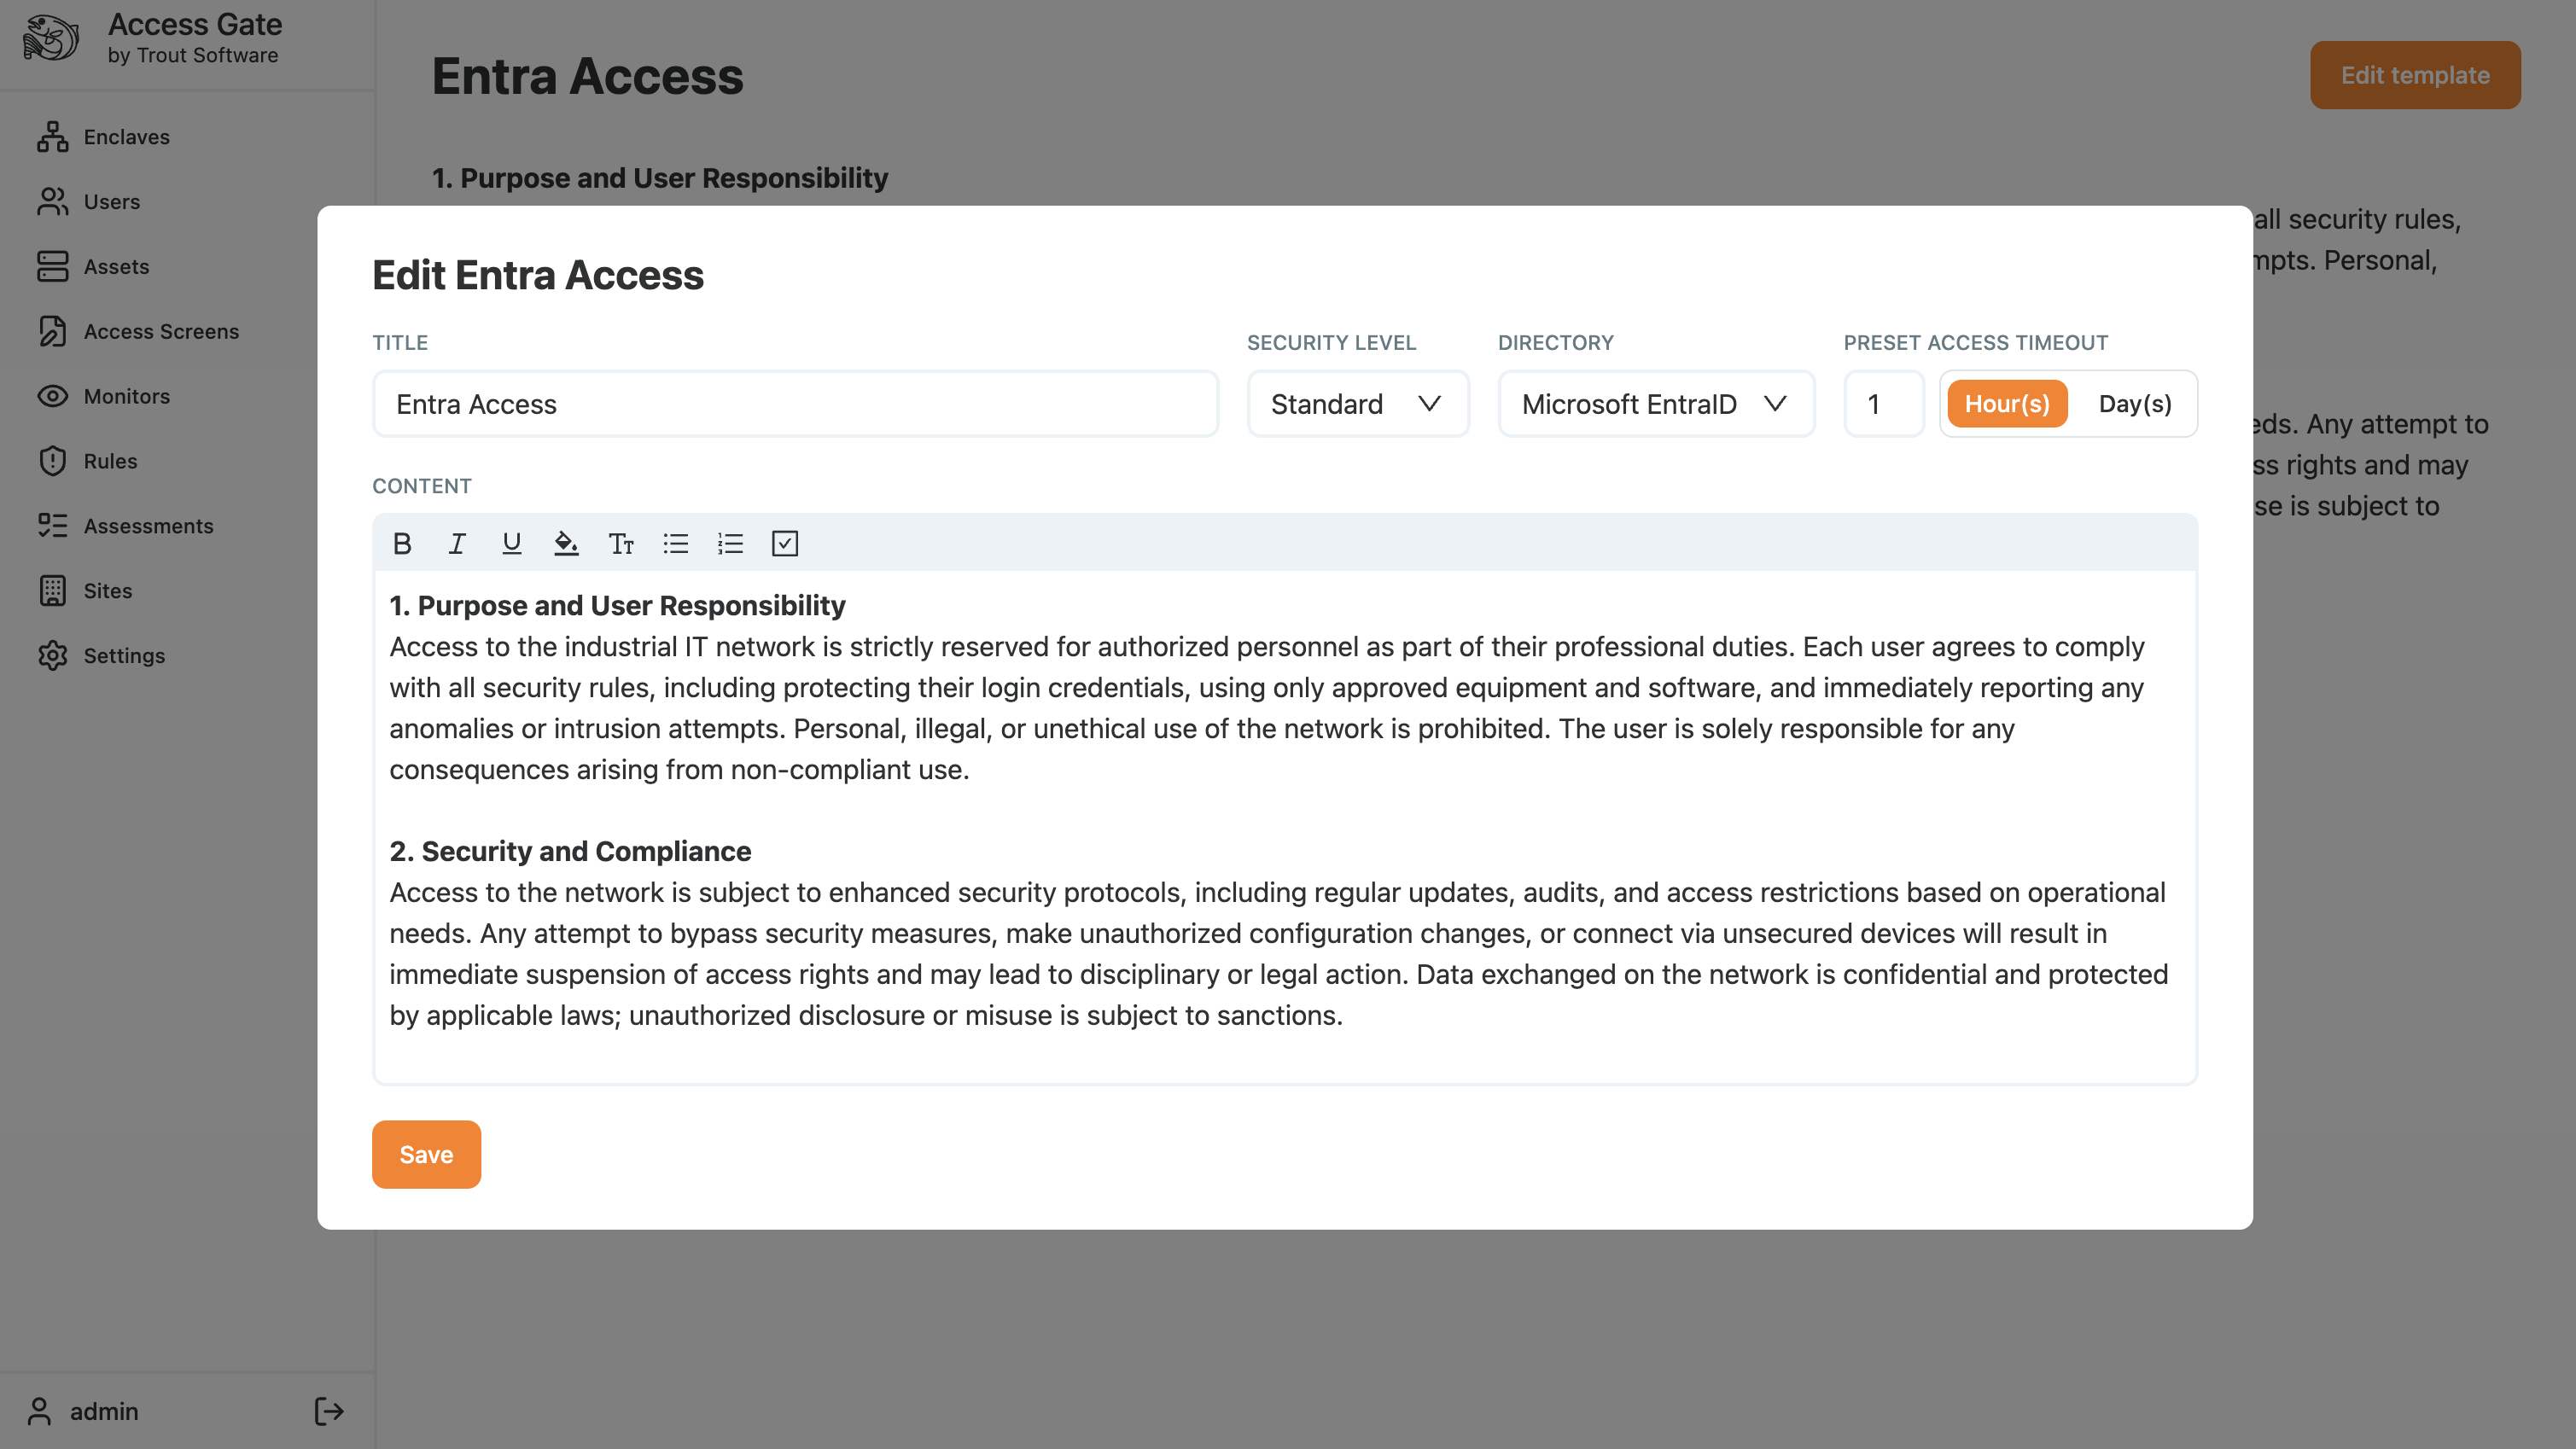
- Set the access screen's preset timeout to match the work. Fifteen minutes for a high-security enclave, an hour for standard engineering work, eight hours for a shift.
Once they authenticate, the gate opens a session tied to that named person and bounded by the timeout you set. When the window closes the access revokes itself and they authenticate again if the work is not finished. The session is brokered and recorded throughout:
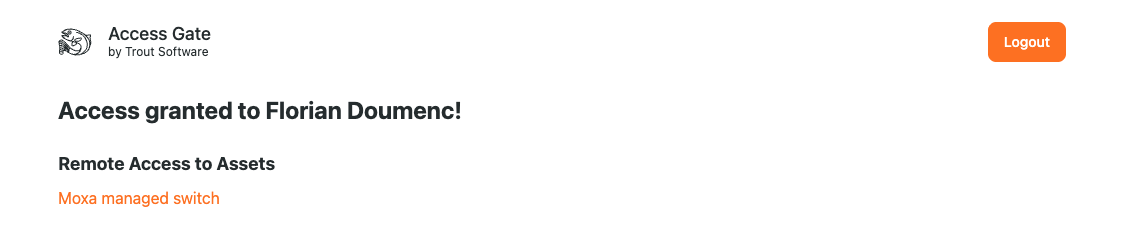
The access screen text is worth using properly. It is where the terms governing access to your network get put in front of the person about to use it, rather than sitting in a contract nobody reads on site. See Authenticate Users with Access Screens and Privileged Access Management for the setup behind both.
Step 5: Close out and keep the evidence
- Remove the enclave permissions granted for this intervention.
- Check the enclave change history so the grant and the removal are both on record.
- Note what the vendor actually changed, in your own maintenance log as well as theirs.
- Let the conformity record expire, or close it if the work finished early.
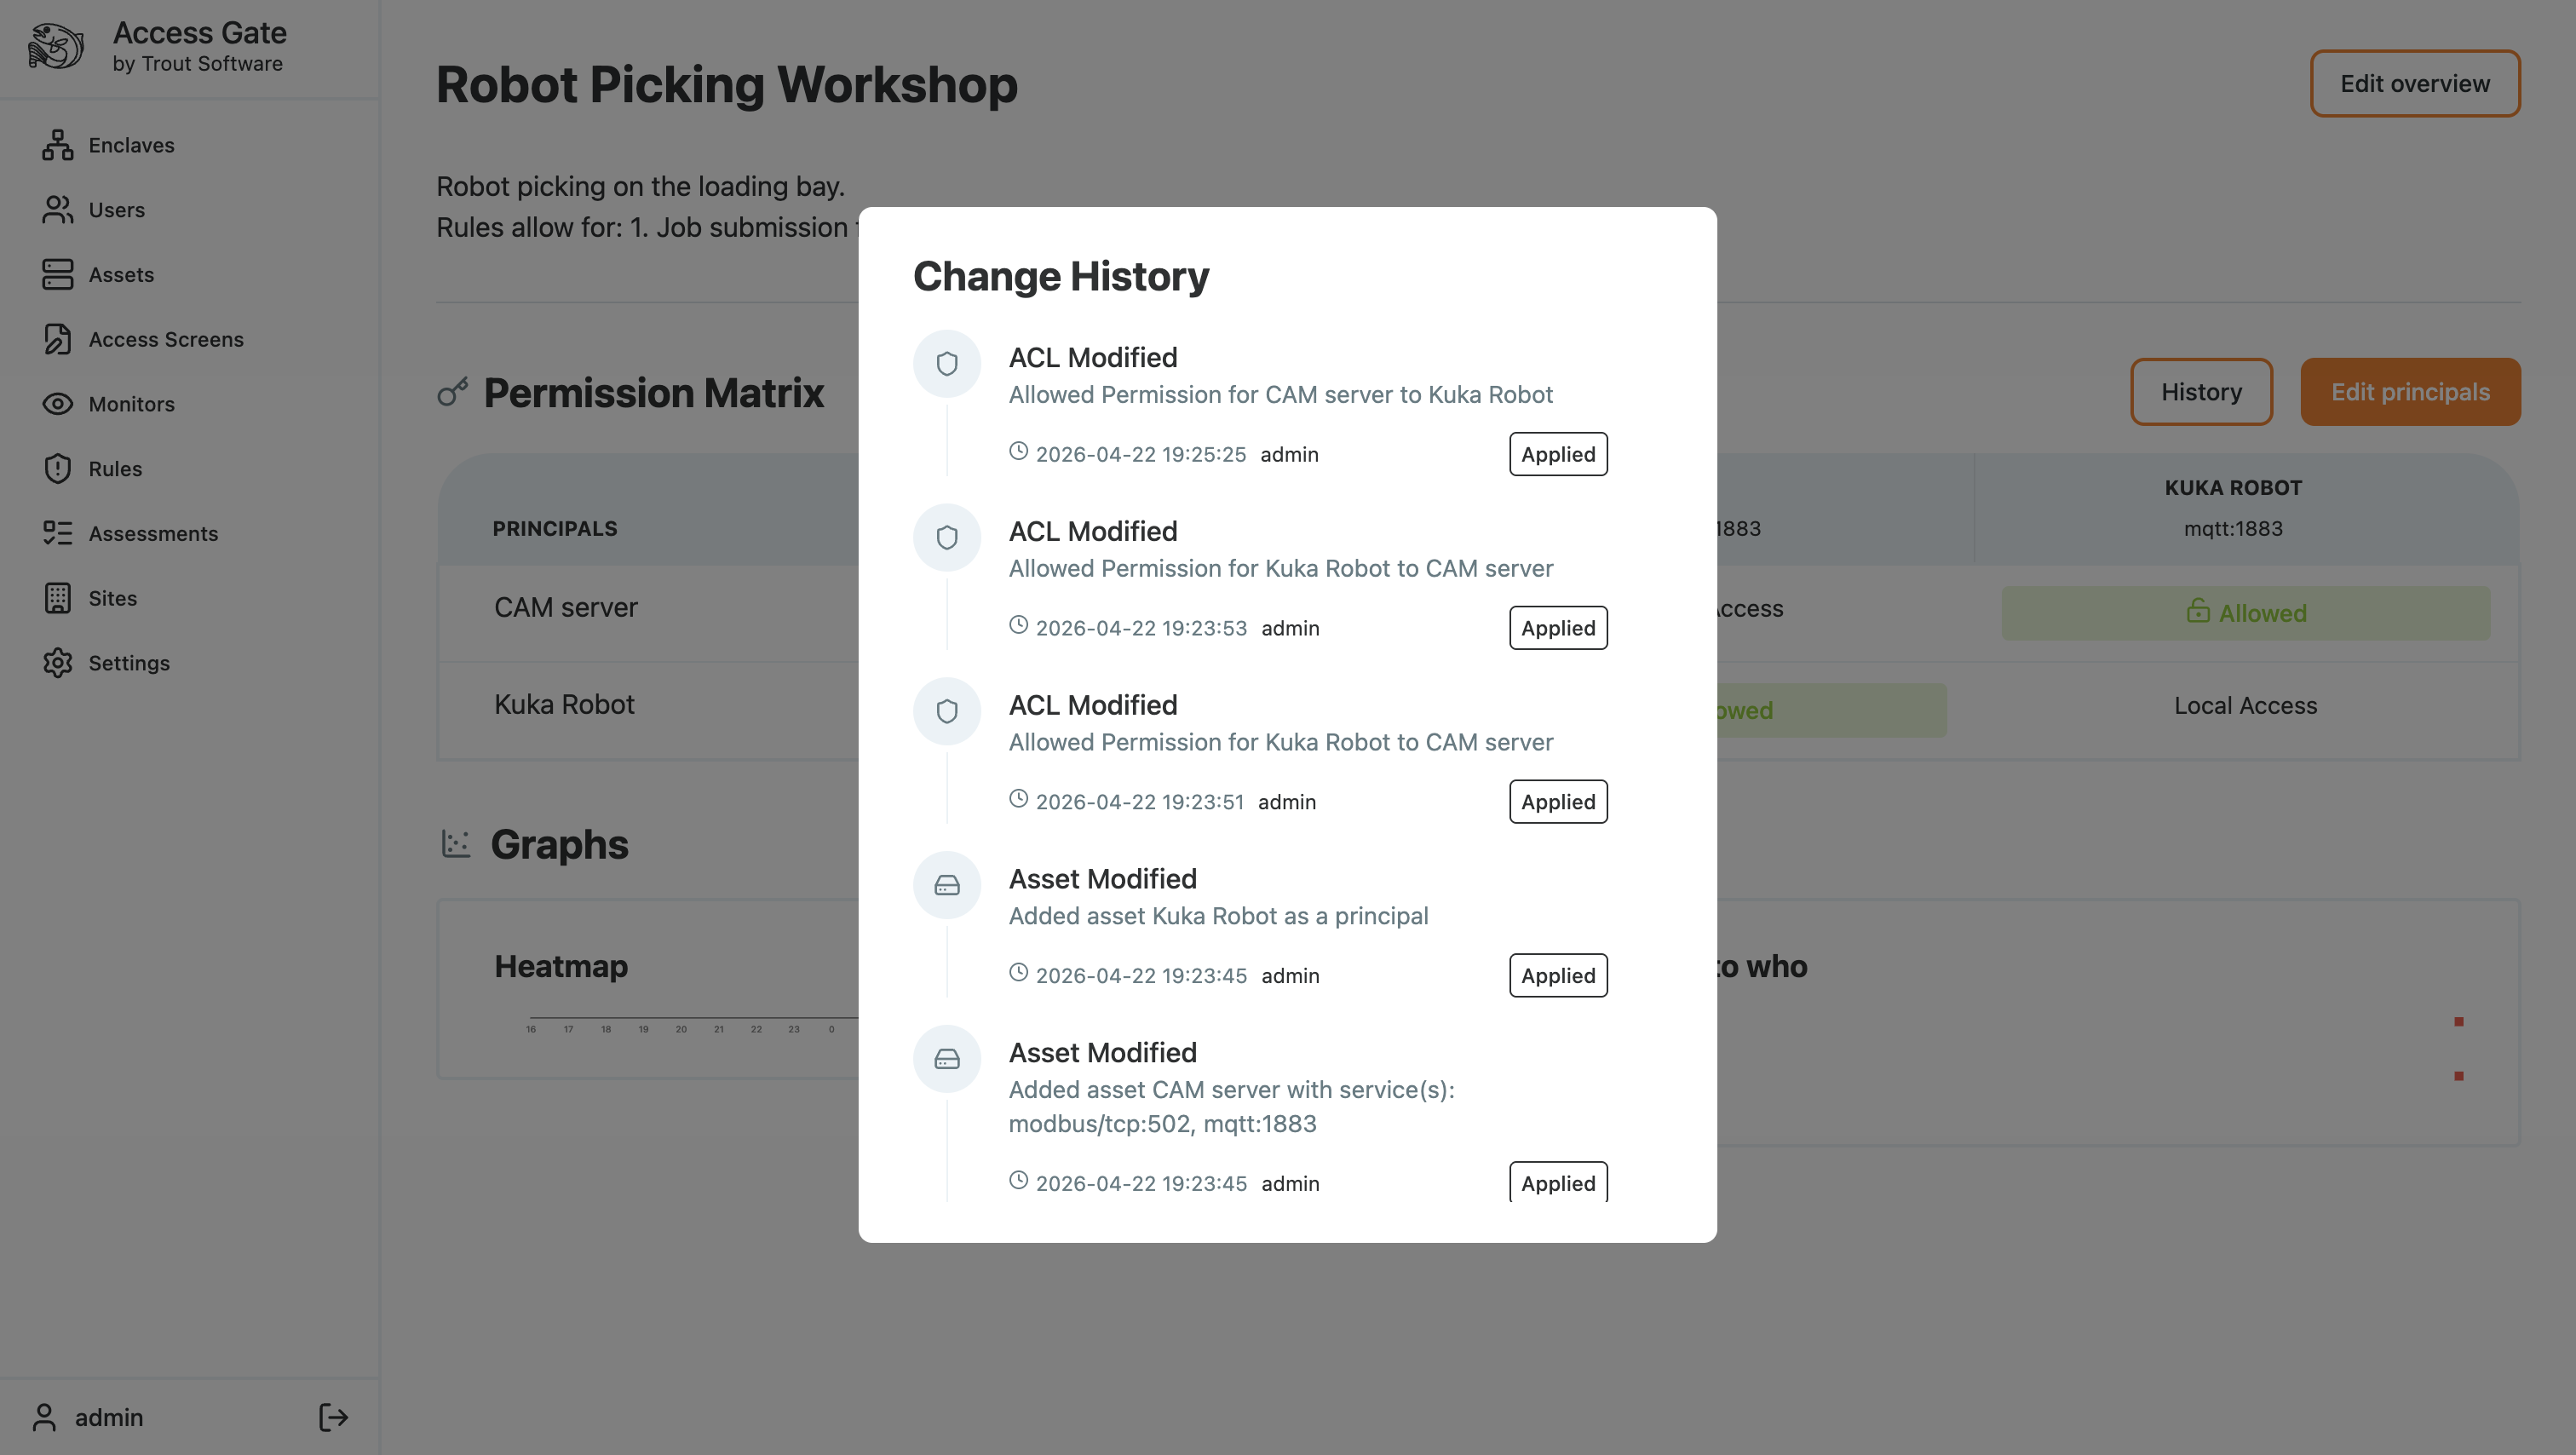
Change history cannot be edited or deleted, which is what makes it usable as evidence rather than as a log.
What we have achieved
Across the five steps we have:
- Tied the access to a work order with an end date, so it has a reason to exist and a reason to stop.
- Identified the individual engineer, so the recording answers who, not just what.
- Scoped the grant to named assets and protocols instead of network reach.
- Terminated their access on the Access Gate, so nothing internal was ever directly reachable and the session was tied to the person and the clock.
- Closed the access and kept a tamper-evident record of the whole thing.
The vendor did their job, the plant kept running, and if anyone asks in eighteen months who was on that controller and what they were authorised to do, the answer is on file rather than in someone's memory.